


Path of Exile 2 Totem builds are powerful with their lazy one-button gameplay, high survivability, zero mana cost in mainstream setups, cheap early gear requirements, and smooth endgame progression. With the tons of new content in 0.5 Return of the Ancients Update, which totem builds are still playable? Here are most reliable league start and endgame totem builds in PoE 2 0.5.
PoE 2 0.5 Totem Mechanic Changes
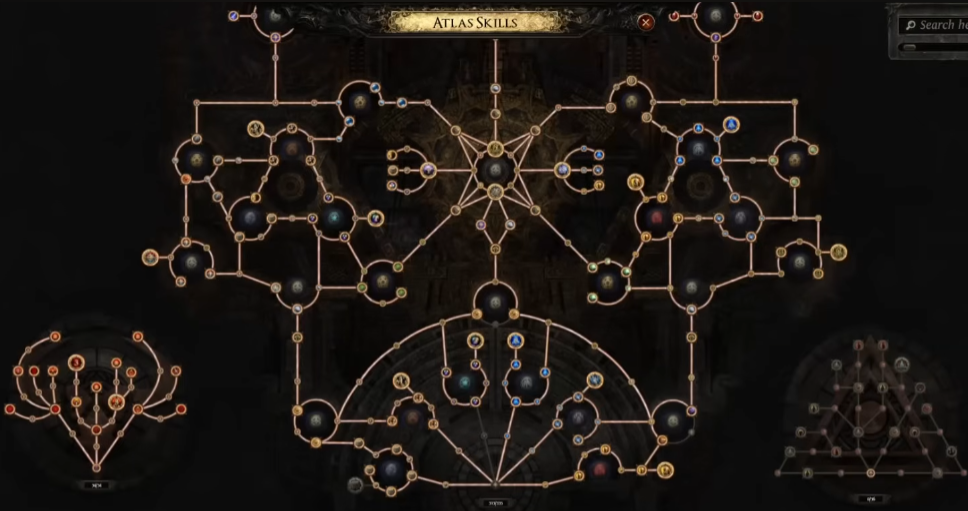
Totems are core allied combat constructs in Path of Exile 2, functioning independently to cast attacks and spells on players’ behalf. Distinct from minions, totems scale entirely with the player’s offensive and defensive stats while possessing their own health pool, placement mechanics, and unique modifiers. In the 0.5 Return of the Ancients update, totem builds received targeted ascendancy, passive tree, and gem adjustments.
🟢 PoE 2 0.5 Totem Buffs
1. Totem Survival Boost
Totems under “Unnamed Heartwood” effect cannot die from damage exceeding their max life during the effect duration
Affects minions with Last Gasp/Tecrod’s Revenge supports too
2. Ancestral Bond Keystone Reworked
✅ Totem Limit doubled (big buff!)
✅ No Charge requirement to place totems (removed clunky mechanic)
⚠️ Each totem now reserves 75 Spirit (trade-off)
3. Ancestral Warrior Totem Improved
Removed hidden 0.6s delay between attacks
Now clearly shows 50% of attack time as delay in skill description
4. Spell Totem Improved
✅ Can now be used while moving (huge QoL improvement!)
Updated animation
5. Bug Fixes = Indirect Buffs
Fixed Tacticia’s Cannons “Ready!” passive not triggering totem attacks with skills like Molten Blast, Rolling Magma, etc.
Fixed Fire Skills from Spell Totems wrongly generating Raging Spirits
Fixed Shockwave Totem being socketable into Ancestral Warrior Totem (was a bug)
🔴 PoE 2 0.5 Totem Nerfs
1. The Soul Mantle Unique Body Armour Changed
❌ Lost: 20-30% reduced Totem Life
✅ Gained: +75 Spirit instead
⚠️ Existing items unaffected by this change
🔵 Other Changes & Clarifications
1. Spirit Cost Clarification
“Despite Spell Totem having the Spell tag, summoning the totem itself is NOT a spell. Costs added to spells do NOT apply to summoning a Spell Totem.”
This means Archmage support won’t add mana cost to placing totems (good news!)
2. Bug Fixes
Fixed Bone Constructs from Unearth standing still when summoned by totem
Fixed Dialla’s Desire Lineage Support working while socketed but disabled
Fixed tooltip error: “Right Click to activate” showing incorrectly on totems with Ancestral Bond allocated
Best Totem Classes & Ascendancies in PoE 2 0.5
Not every ascendancy class works well for totem builds. Some are clearly better than others depending on whether you are running spell totems, grenade totems, or minion totems. Here is a breakdown of the best choices.
1. Oracle (Druid)
The Oracle is the a primary choice for spell totem builds. Key notable passives make Oracle extremely strong for totems:
Paths Not Taken (keystone passive): Lets you allocate keystone passive skills without being connected to the tree. This means you can grab powerful keystone effects that normally sit far away from your build's starting area. The flexibility is enormous.
Spell damage and cast speed nodes: Oracle's passive tree offers strong spell damage scaling, elemental penetration, and cast speed, all of which directly boost your totems' damage output.
Oracle is the go-to choice for Spark Totem, Bone Cage Totem, and any spell-based totem setup.
2. Warbringer (Warrior)
Warbringer is the ascendancy for grenade totem builds. It gives access to strong war cries, banner skills, and the ability to layer grenades on top of your totem setup for explosive screen-wide clear. Craving Slaughter received a major buff: now grants +15 maximum Rage when you have used a Glory skill in the past 20 seconds (up from +8 per skill in 6 seconds). This is a huge rage generation improvement for banner-supported builds.
3. Titan (Warrior)
Titan is the choice for Shield Wall totem builds. While the build was nerfed hard, the core Shield Wall mechanic and Titan's exceptional defenses still make it a viable option. It is not dead — it just requires more gear investment to perform at the same level as before.
4. Shaman (Druid)
Shaman excels as a totem ascendancy primarily through its Sacred Flow node, which provides exceptional spirit scaling that directly addresses the new Ancestral Bond changes (75 spirit per totem). This ascendancy enables early totem transitions and is explicitly designed for SSF viability, meaning it doesn’t rely on trade-only gear. The Totem Shaman build can one-button clear for mapping with high DPS uptime. While the 0.5 mana nerf to Ancestral Bond adds some resource management, Shaman compensates through mana regen gear and synergies with Archmage support, targeting 5-6 totems as a realistic endgame setup.
5. Invoker (Monk)
Invoker is ideal for hardcore totem builds, especially for HCSSF players who prioritize survival without sacrificing clear speed. Invoker Spark Totem build allows you to deal damage while staying mobile. What makes Invoker special is its scaling complexity: lazy players can one-button boss, while skilled players can stack multiple buffs (Lightning Infusions, Frost Bomb, Flame Wall, etc.) to dramatically boost totem damage.
PoE 2 0.5 Best Totem Builds
With flexible totem limit scaling, placement speed bonuses, and powerful defensive aura nodes, totem builds are suitable for casual starters, hardcore SSF players, and min-max endgame farmers. Below are the three most viable totem builds for PoE 2 0.5.
1. Grenade Ballista Totem Warrior – Best Budget League Starter
This tanky, budget-friendly totem build is a top league starter for Path of Exile 2 0.5. It relies on Warbringer ascendancy, features solid DPS, effortless one-button gameplay and no mana management thanks to the Blood Magic Keystone. It handles all Waystone 15/16 content smoothly, and can tackle endgame challenges like max-difficulty Simulacrum and Trial of Sekhema carries with extra currency investment.
A totem-focused build using Mortar Cannon + Cluster Grenade as core skills. Totems automatically attack enemies, and Voltaic Grenade is added exclusively for tough bosses to apply Shock and amplify damage taken. Damage scales primarily with physical damage and gem levels.
Budget Starter Gear (Waystone 15/16 & Basic Pinnacle Viable)
Main Weapon (Cannonade Crossbow/Siege Crossbow): Prioritize high physical DPS, implicit "Grenade Skills fire an Additional Projectile".
Helmet: Max Life > Elemental Resistances > % Armour applies to Elemental Damage.
Body Armor: High Armour (1700+ recommended) > Max Life > Resistances > % Armour applies to Elemental Damage.
Gloves: Added physical attack damage > Max Life > Resistances > % Armour applies to Elemental Damage.
Boots: Movement Speed > Max Life > Resistances > % Armour applies to Elemental Damage.
Amulet: Idol of Uldurn, rare amulet with +2/+3 Projectile Skill Levels or Fireflower Amulet. Anoint Heavy Ammunition; use Catalysts to boost stats.
Rings: Max Life > Added physical attack damage > Resistances. Apply Catalysts for stat gains.
Belt: Max Life > Resistances > Extra Charm Slots > Armour. Hybrid Armour/Evasion bases are acceptable with Iron Reflexes allocated; avoid Energy Shield bases.
Max Endgame Gear
Transition to this variant after reaching level 92. It adds Rage stacking for higher DPS, adjusted skill tree and new anointments.
Body Armor: Ornate Plate base with ~2000 Armour and minimum 30 Spirit. Socket Iron Runes for extra Armour.
Amulet: Fireflower Amulet (+4 to All Fire Skills); corrupted +6 version is the BiS endgame choice. Anoint Grenadier.
Weapon: Crossbow with +1 maximum Ballista Totems and + levels to All Skills. Craft deterministically for good stats.
Jewel: Heart of the Well (increased Armour from equipped body armour). Ruby Jewels with fire/attack/totem damage, Armour, max Rage. Optional Prism of Belief Diamond.
Belt: Optional Headhunter for extra utility.
Charms: Optional Rite of Passage (Spirit of the Bear/Ox for damage reduction).
Runes & Soul Cores: Tzamoto’s Soul Core of Ferocity (helmet), Farrul’s Rune of the Chase (boots), Greater Iron Rune (weapon), resistance runes to fix stat gaps.
Skill Gems & Setup
Core Skills: Mortar Cannon (main clear), Voltaic Grenade (boss-only Shock application), Ancestral Spirits, Encase in Jade.
Key Support Gem: Rigwald’s Ferocity (place weapon in Weapon Slot II to avoid damage penalty; temporary replacements: Elemental Armament II, Overabundance II).
Spirit Gems (Normal Version): Requires 100 total Spirit (base from campaign) + Time of Need.
Spirit Gems (Maxed Version): Requires 130 total Spirit (100 base + 30 from body armour) + Eternal Rage + Time of Need. Time of Need heals and removes ailments/curses; Eternal Rage maintains max Rage.
Ascendancy (Warbringer)
Unlock nodes in this order: Answered Call → Wooden Wall → Jade Heritage → Anvil’s Weight (pair with The Molten’s one Gift notable).
Answered Call: Grants Ancestral Spirits and +1 Extra Totem.
Wooden Wall: Redirects 20% of incoming hit damage to nearby totems for extra defense.
Passive Skill Tree
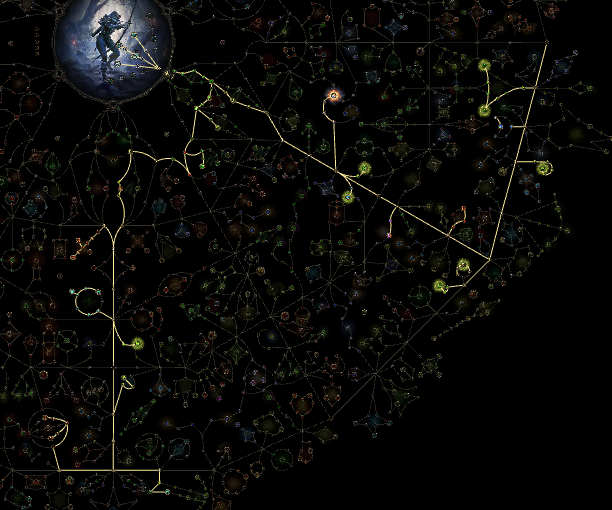
Mandatory nodes: Artillery Strike, Blood Magic Keystone.
Normal build: Optimized for tankiness and smooth Waystone 15/16 mapping, fully budget-friendly.
Maxed build: Min-maxed for peak DPS and defense, not cheap to assemble.
Gem Enthusiast notable: Collect 10 red and 10 green Support Gems to gain extra life and movement speed.
Gameplay & Content Performance
Mapping: Pure one-button play. Spread totems apart and deploy them continuously while moving for faster clear speed. Constant movement acts as natural defense against dangerous map modifiers.
Bossing: Budget gear handles regular pinnacle bosses easily. Voltaic Grenade is used to apply Shock and boost damage against tough foes. Endgame gear takes on high-difficulty pinnacle content, Simulacrum and carry content reliably.
QoL: No mana costs via Blood Magic, no complex skill rotation, relaxing playstyle. Note: The in-game DPS tooltip does not track extra totems, though each additional totem heavily boosts actual damage.
Leveling Notes & Campaign Tips
Warrior performs clunkily in Act 1–2, which is a class limitation rather than a build flaw. The build only reaches full power after unlocking core totem passives and progressing to the Atlas.
Campaign Buffs & Tattoos: Grab 30% increased Charm Charges (Act 2 Valley of the Titans) and 25% increased Stun Threshold (Act 3 Venom Draught). All tattoos roll elemental resistances.
Flasks & Charms: Use Ultimate Life Flask (ignore mana flasks). Mandatory charms: Thawing Charm, Grounding Charm, Amethyst Charm.
Build Pros & Cons
Pros: Ultra budget-friendly, no mana issues, extremely tanky, simple one-button gameplay, viable for all endgame content, stable currency farming, strong community support.
Cons: Clunky early campaign leveling, slower map clear compared to top bow builds, unique totem placement playstyle.
2. Spell Totem Shaman – SSF League & Endgame Build
A reliable SSF-friendly league starter built around Shaman ascendancy (can swap to Oracle later). Originally centered on Spark as the main totem skill; also tests new Kalguuran spells for alternatives. Due to Ancestral Bond nerfs, players now need to manage mana for totem summoning, though the build remains fully functional. The core goal for league start is unlocking 5–6 totems and Archmage support. Most players opt to level with Essence Drain/Contagion until level 55–60 before fully switching to totems for smoother progression.
Build Pros & Cons
Pros: High DPS uptime, mostly one-button mapping, strong SSF compatibility.
Cons: Reduced mobility, extra mana management required after Ancestral Bond nerfs.
Early Campaign & Gear (League Starter)
Core Unique Bases: Attuned Wand, Omen Sceptre, Ancestral Tiara, Vile Robe, Dream Fragments, Solar Amulet, Prismatic Ring, Sekhema Sandals, Sirenscale Gloves, Darkness Enthroned.
Notable Uniques to Farm: Spirit-boosting amulets, curse-resistant body armours, rare power rings.
Skill Gems & Supports
Main skill setup stat requirements: Str 25, Dex 10, Int 40
Spell Totem + Spark: Projectile Acceleration III, Pierce III, Urgent Totems III, Zenith I
Archmage: Core damage support
Elemental Weakness: Heightened Curse, Cursed Ground, Efficiency II
Flame Wall: Fortress I, Prolonged Duration II, Rapid Casting II
Frost Bomb: Potent Exposure, Rapid Casting II, Prolonged Duration II
Mana Remnants: Harmonic Remnants II, Remnant Potency I
Mana & Passive Tree Adjustments (Post Nerf)
Ancestral Bond now costs mana, so prioritize mana efficiency supports (can de-level some gems to cut mana cost). Adjust passive nodes based on mana pressure:
Take nodes with Arcane Surge chance or high mana regeneration.
Swap tree paths for better mana sustain if needed; drop minor damage nodes for mana-focused passives when necessary.
Gameplay
Stick to hybrid spell setups (Essence Drain/Contagion) in early acts. Switch to totem play at the end of Act 2 or level 55–60. Focus on stacking totems and utilizing debuff skills for boss encounters.
3. Invoker Spark Totem Monk – HCSSF All-Content Build
A robust Spark Totem build for Invoker (Monk), designed specifically for Hardcore SSF. It prioritizes survivability while maintaining fast clear speed and full endgame capability. Players level using Bows Martial Artist before transitioning to the totem playstyle. Totems do not snapshot buffs, so maintain consistent buff uptime for maximum performance.
Equipment (Core Starter Gear)
Helmet: Ancestral Tiara
Weapons: Dueling Wand, Attuned Wand, Dual Omen Sceptres
Rings: Dual Breach Rings
Amulet: Solar Amulet
Body Armour: Havoc Raiment
Gloves: Sirenscale Gloves
Belt: Fine Belt
Boots: Sekhema Sandals
Full Skill Gems Setup
Archmage (Lvl 20): Core damage multiplier
Spell Totem + Spark (Lvl 20): Urgent Totems III, Pierce III, Projectile Acceleration III, Zenith II (keep mana above 90% for Zenith bonuses)
Frost Bomb (Lvl 20): Potent Exposure, Cooldown Recovery II, Efficiency II, Magnified Area II
Elemental Weakness (Lvl 24): Cursed Ground, Heightened Curse, Efficiency II, Magnified Area II
Flame Wall (Lvl 20): Fortress I, Rapid Casting II, Efficiency II, Fire Mastery
Meditate (Lvl 20): Steadfast II, Cooldown Recovery II, Second Wind III
Orb of Storms (Lvl 20): Overabundance I, Unleash, Compressed Duration II, Rapid Casting II
Comet (Lvl 20): Blindside, Considered Casting, Spell Cascade, Pinpoint Critical
Thunderstorm (Lvl 5): Rapid Casting II, Magnified Area II, Prolonged Duration II, Inexorable Critical II
Mana Tempest (Lvl 20): Efficiency II, Morgana's Tempest, Advancing Storm
Gameplay & Skill Rotation
Mapping: Simple playstyle – deploy totems, move quickly and loot.
Bossing (Optimal Single-Target Rotation):
Deploy Orb of Storms and let it expire to gain Lightning Infusions.
Cast Thunderstorm at the boss spawn point for critical buffs.
Cast Elemental Weakness shortly before the boss appears.
Place Frost Bomb on the boss location.
Summon 6 totems in a tight group.
Use Flame Wall while holding Lightning Infusions to boost totem damage.
Activate Mana Tempest and refresh the buff when it fades.
Dodge attacks and replace fallen totems as needed.