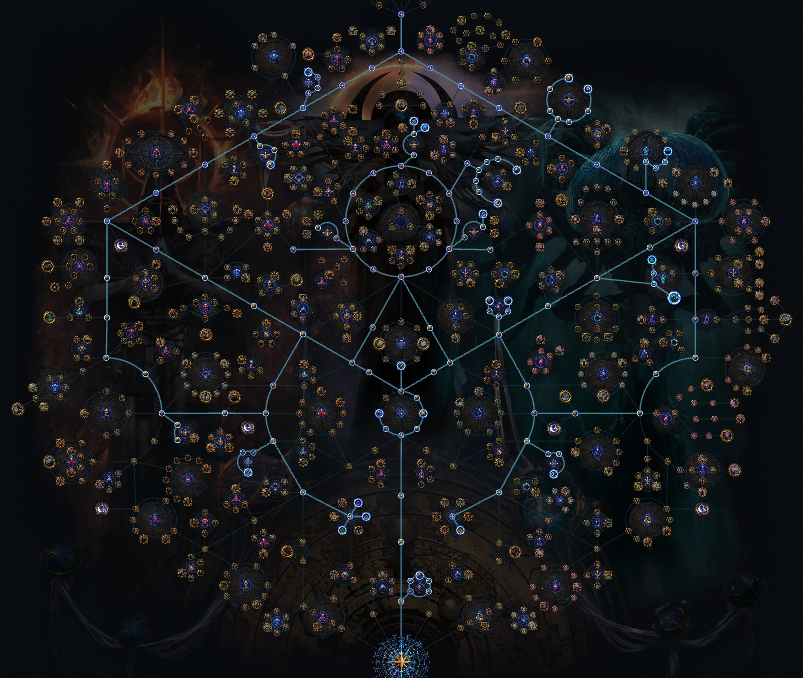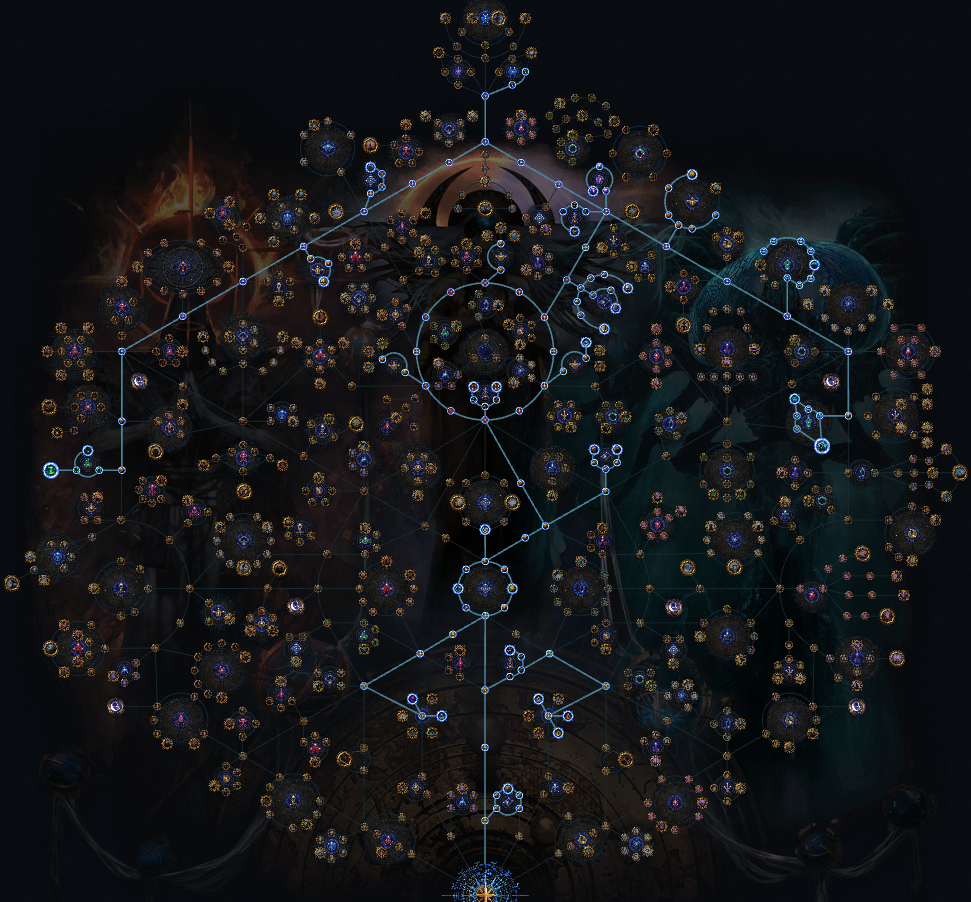



Looking for a PoE 3.29 farming strategy that's more than just running the same map over and over? In this guide, we'll break down the 2 funniest PoE 3.29 farm strategies and Atlas Trees: Eternal Crap Beyond Demon and Propagation + Abyss.
PoE 3.29 Funniest Farm Strategies – Eternal Crap Beyond Demon & Propagation
Because in Path of Exile, farming isn't only about maximizing Divine Orbs per hour. A funny farm strategy gives players a reason to keep playing when conventional farming starts feeling repetitive. That's why Eternal Crap Beyond Demon and Propagation + Abyss are interesting in PoE 3.29. The first turns heavily juiced maps into an endless Beyond Demon party, while the second uses Propagation of Flame and Abyss to create powerful modifier-stacking encounters. Whether you want maximum chaos or more consistent currency per map, these two strategies offer a refreshing alternative to conventional farming.
1. Funniest PoE 3.29 Eternal Crap Beyond Demon Strategy
At its core, this farming method focuses on creating maps with ridiculous amounts of monsters and maximizing Beyond encounters.
Beyond is the perfect mechanic for players who love high-density gameplay. Killing monsters can lead to additional Beyond enemies appearing, which means more monsters create even more opportunities for chaos. When combined with an Atlas setup focused on increasing encounters, pack size, and monster density, maps can quickly become packed with enemies.
The goal isn't to carefully clear one mechanic at a time. Instead, the Eternal Crap Beyond Demon strategy embraces total chaos.
You enter a heavily juiced map, start clearing huge packs, trigger more Beyond enemies, deal with powerful demons, and keep moving until the entire screen is covered in monsters and loot. This chain-reaction gameplay is what gives the strategy its hilarious identity.
The Atlas Tree Behind the Strategy
The Atlas Tree is designed around supporting this high-density playstyle rather than focusing entirely on boss rushing. The main philosophy is to invest in mechanics that help create a more rewarding and crowded map. You want to maximize the number of monsters you encounter while ensuring that your Beyond investment has enough enemies to interact with. A strong setup should prioritize:
Beyond-related Atlas passives
Additional monster density
Pack Size
Extra league encounters
Map modifier effect where appropriate
Mechanics that add large packs of monsters
Scarabs that complement a high-density mapping strategy
The important thing is synergy. Beyond becomes much more exciting when the map already contains large numbers of monsters. A nearly empty map gives you fewer opportunities to generate the kind of chain reactions that make this strategy special. The provided Atlas setup is therefore best viewed as a maximum chaos mapping tree.
What Build Should You Use?
This strategy is not ideal for every build. You need a character capable of handling enormous monster density without constantly stopping or dying. Fast clear speed is extremely important because the longer you take to kill packs, the less efficient the strategy becomes.
Excellent Area Damage: You want attacks or spells that can clear large packs quickly. Screen-wide explosions, chaining projectiles, strong area skills, and high-damage abilities are especially valuable.
Good Movement Speed: A dense map can take much longer if your character moves slowly. Fast movement allows you to keep the farming loop flowing.
Strong Defenses: Beyond enemies can become dangerous, especially when multiple mechanics overlap. Your build needs enough survivability to deal with sudden bursts of damage, dangerous rares, and crowded screens.
Reliable Sustain: Life recovery, energy shield recovery, leech, regeneration, or other sustain mechanics become more valuable when you're constantly surrounded by enemies.
How to Run the Eternal Crap Beyond Demon Farm
The gameplay loop is relatively straightforward.
Step 1: Prepare Your Maps
Choose maps that work well for fast clearing and dense monster packs. Open layouts can make it easier to move quickly and keep killing.
Step 2: Apply Your Investment
Use your chosen Atlas strategy together with scarabs and other map investments that support monster density and Beyond content.
Step 3: Keep Clearing
Once inside, don't slow down unnecessarily. Kill large packs, move into the next group, and let the Beyond encounters build naturally.
Step 4: Kill the Demons
Be prepared for tougher enemies and dangerous encounters. Beyond demons are not just ordinary trash mobs, so make sure your build has enough single-target damage and defenses to handle them.
Step 5: Loot Efficiently
Don't waste too much time checking every path of exile item. A strict loot filter can make a huge difference when the screen is constantly producing drops.
Is Eternal Crap Beyond Demon Profitable?
It can be, but profitability depends on your execution. This isn't necessarily a low-investment strategy for a fresh character. You need a capable build, the right Atlas setup, and enough map investment to generate the monster density that makes the strategy worthwhile. Your final profit will depend on:
Clear speed
Build strength
Map investment
Scarab costs
Current market prices
Loot filter efficiency
Deaths and downtime
How quickly you prepare the next map
However, the biggest selling point of this strategy isn't simply profit. It's fun. POE farming can sometimes become repetitive when you run the same efficient strategy hundreds of times. Eternal Crap Beyond Demon keeps things entertaining because every heavily juiced map can produce another level of insanity.
2. Funniest PoE 3.29 Propagation Strategy
The key mechanic behind this strategy is Propagation of Flame. Propagation substitutes certain monster packs in the area. When these monsters die, their rare modifiers can spread to other native monsters. At first glance, this sounds like a straightforward monster-modifier mechanic. However, there's an important interaction with Abyss.
Abyss contains its own special groups of monsters, and the rarity and modifiers of the monsters emerging from the Abyss can be influenced by the monsters killed above it. In other words, Abyss can effectively behave like a mimic, taking advantage of the modifiers you've carefully prepared on the monsters surrounding it.
The Antagonist Mod Is the Key
For this version of the strategy, the focus is extremely specific:
Monsters have 1 additional modifier / increased rare monsters
Rather than rolling dozens of different map modifiers, the goal is to consistently obtain the Antagonist modifier and then build the rest of the map around it. This is important because the strategy relies on having powerful rare monsters available for Propagation to interact with. More rare monsters means more opportunities to generate useful modifiers and more opportunities for Abyss monsters to inherit them. The result is a much more consistent mapping experience.
My Preferred Map Mods
For the most consistent currency-per-map setup, I strictly run:
1. Antagonist Modifier
The priority is monsters have 1 additional modifier / increased rare monsters. This is the foundation of the strategy.
2. Currency Roll – 40%+
I also want a 40% or higher currency modifier. This gives the map a strong baseline of currency returns, making the strategy less dependent on hitting an enormous jackpot.
3. Scarab Roll – 30%+
Finally, I look for a 30%+ scarab modifier. This is particularly important because scarabs provide a reliable source of currency throughout your farming session.
So my ideal map is essentially Antagonist + 40%+ Currency + 30%+ Scarab. This isn't necessarily the setup with the highest possible jackpot potential, but I find it to be the most consistent currency-per-map approach.
Why You Might Want To Farm Scarabs
One interesting part of the original strategy is that you can choose between two different approaches.
Jackpot Strategy
You can focus your Atlas Tree more heavily toward maximizing the potential value of individual maps. This means accepting more variance. You might have several mediocre maps followed by an enormous drop.
Consistent Currency Strategy
Alternatively, you can invest more into scarab generation. This produces a steadier stream of currency rather than relying on extremely rare jackpot drops. For most players, I think this second approach is easier to recommend. You don't need every map to explode with a Mirror or another massive drop. Instead, you want your average map to consistently pay for itself and generate profit.
How To Run The Map
The actual mapping process is simple once you understand the mechanic.
Step 1: Enter Your City Square Map
City Square is particularly convenient because its layout allows you to turn around when you encounter an Abyss.
Step 2: Find the Abyss
If you see the Abyss immediately, don't activate it. Move away from it.
Step 3: Clear Native Monsters
Start clearing the monsters that aren't part of the Abyss. This gives Propagation the opportunity to distribute modifiers among the native monster population.
Step 4: Look for Valuable Rare Modifiers
Pay attention to the rare monsters you're killing. The objective is to create strong monsters above the Abyss.
Step 5: Return to the Abyss
Once you've cleared the surrounding native monsters, return to the Abyss. Now you can let the Abyss monsters emerge and potentially steal some or all of the modifiersfrom the monsters you've prepared.
Step 6: Kill Everything
This is the fun part. The Abyss can produce heavily modified monsters, creating a much more dangerous encounter than a normal map. Your build needs to be ready for it.
Currency Consistency vs Jackpot Potential
This is the biggest trade-off with my setup. Running Antagonist + 40%+ Currency + 30%+ Scarab makes the strategy more consistent. You're creating several different sources of value:
• POE Currency drops
• Scarab drops
• Abyss rewards
• Rare monster drops
• Potential high-value modifier interactions
However, maximizing consistent currency can potentially lower your odds of jackpot drops. That's an important distinction. If your only goal is to hit an enormous drop, you may want to build your Atlas differently. But if you want to sit down and farm for several hours while consistently generating currency, this setup makes much more sense.