


Diablo 4 Season 13 and the Lord of Hatred expansion brought a complete overhaul to itemization and crafting, and at the center of it all sits the Horadric Cube. Among its many recipes, Transfiguration is the one that can push your gear beyond what normal drops and crafting can achieve, but it can also go very wrong if you rush into it unprepared. This guide covers everything you need to know about Transfiguration, from the basics of how it works to every Tuning Prism type and the smartest strategies to get the most out of the system.
Updated on May 19th with the Double/Triple Transfigure Strategy from Top Players!
Diablo 4 Transfiguration Guide (Season 13 & Lord of Hatred)
Transfiguration is a Horadric Cube recipe that applies a random powerful modification to a finished piece of gear. Think of it as the final step in your item's progression. Once you have tempered, masterworked, enchanted, socketed, and imprinted an aspect on your gear, you can Transfigure it for a chance at bonus stats, extra Greater Affixes, gem strength bonuses, and more. The catch is that Transfiguring an item carries a very high chance of rendering it permanently unmodifiable, meaning no more tempering, masterworking, enchanting, or even adding sockets afterward. This feature was previously known as Sanctification back in Season 11, but has been reworked with new outcomes and the introduction of Tuning Prisms to give players more control over the results.
With that in mind, let's walk through how the system functions, what Diablo 4 items you can Transfigure, the full range of possible outcomes, every Tuning Prism and its use case, where to farm them, and the most effective strategies to avoid bricking your best gear.
How Transfiguration Works in Diablo 4 Season 13 & Lord of Hatred?
Transfiguration is accessed through the Horadric Cube. You place a completed item into the cube, select the Transfigure recipe, and optionally add a Tuning Prism to influence the result. The cube then applies a random modification to your item.
The Unmodifiable Lock
Every time you Transfigure an item, there is a very high probability that the item becomes permanently unmodifiable. Once locked, you cannot temper it, masterwork it, enchant it at the Occultist, add gem sockets, or imprint new aspects. You can still swap gems in and out of existing sockets, but that is the extent of what remains available.
The Small Chance to Stay Modifiable
There is a small chance that your item remains modifiable after Transfiguration. If this happens, you can actually Transfigure the same item again and potentially stack multiple transfigured mods on a single piece of gear. One player reported boots that went from 2 Greater Affixes to 4 because the item stayed modifiable through two consecutive Transfigurations, picking up an extra GA each time.
Order of Operations: STEAM Your Items
Before you Transfigure anything, complete every other crafting step first. The community uses the acronym STEAM as a reminder:
S - Socket (add gem slots)
T - Temper (apply temper affixes)
E - Enchant (reroll a stat at the Occultist)
A - Aspect (imprint your legendary aspect)
M - Masterwork (upgrade to Masterwork rank 25)
Some players prefer to Masterwork before Tempering (giving you a 1-in-4 chance to crit the stat you want instead of 1-in-5), which reorders it to MEATS. Regardless of which order you prefer for those two steps, the point is the same: Transfiguration comes last. Forgetting to add a socket before Transfiguring is one of the most common and painful mistakes, you could roll a 100% gem strength bonus on an item with no socket and have no way to fix it.
Diablo 4 Transfigure Items - What Items To Transfigure?
Not every item in the game interacts with Transfiguration in the same way. Here is what you should know about which items can be Transfigured and some special cases.
Gear You Can Transfigure
Any piece of equipped gear: weapons, armor, jewelry, can be placed into the Horadric Cube and Transfigured. This includes rare items, legendary items, unique items, and mythic items. The item should be fully finished (socketed, tempered, enchanted, aspected, and masterworked) before you attempt it. Two-handed weapons benefit the most, since certain modifiers (like gem strength) are doubled.
Ancestral Items and Greater Affixes
If your item is Ancestral quality, the Transfiguration outcomes can include gaining additional Greater Affixes. This is one of the most desirable results, as it can turn a 2GA item into a 3GA or even 4GA piece. Only Ancestral items are eligible for GA-related outcomes.
Amulets
Amulets have a unique interaction with Transfiguration through the Kullean Tuning Prism, which adds an extra Legendary Aspect to the amulet. This is repeatable and does not lock the item, so you can reroll the added aspect as many times as you want. No other gear slot has access to this particular outcome.
Charms
Charms can also be rerolled and transfigured, which helps fish for Greater Affix charms.
White Items and Targeting Uniques
You can use white (common) items in the cube to attempt to roll them into unique items. To do this, strip all affixes from a rare item through the remove affix recipe until it becomes a white base, then use the cube to upgrade it toward a unique. If the white item is Ancestral, it will maintain Ancestral quality when the unique is crafted. This is a way to target-farm specific uniques by controlling the item slot, for example, placing white gloves into the cube gives you a shot at glove-slot uniques.
Diablo 4 Transfigure Outcomes
Transfiguration pulls from a pool of possible modifications, and the result you get depends on the item slot, the item type, and any Tuning Prism you use. Here is a rundown of what can happen.
Positive Outcomes
Extra Stats: The most common positive result is gaining an additional stat line on your item. These transfigured mods can include willpower, armor, attack speed, crit, main stat, elemental damage, resource stats, and more. For builds that stack specific stats like resource-heavy builds using Melted Heart, some of these bonus rolls can be incredibly valuable.
Additional Greater Affixes: One of your existing affixes can be upgraded to a Greater Affix, or an entirely new GA can be added. This is how players end up with 4GA or even 5GA items.
Gem Strength: This is widely considered the single most powerful Transfiguration outcome. Gem Strength increases the effectiveness of gems socketed in that item. On a two-handed weapon, gem strength values are doubled, which can push elemental damage multipliers from gems to absurd levels. For example, a Grand gem with 24% elemental damage could reach 68% or higher with gem strength on a two-handed weapon. Even on armor and jewelry, gem strength outperforms most other transfigured stat options in raw value.
Item Quality Bonus: Some items can receive a flat quality increase, such as +25 quality.
Negative or "Wasted" Outcomes
Replace an Affix: This is the riskiest outcome. One of your existing affixes, potentially a Greater Affix, can be swapped out for a different, often worse stat. For example, a GA fire damage multiplier could be replaced by a flat lucky hit chance roll. This is the primary reason players lose valuable items to Transfiguration.
Indestructible: While technically not harmful, the Indestructible modifier is considered a wasted roll by most players since it provides no combat benefit in Softcore and is of limited use even in Hardcore.
Outcome on Amulets
When using the Kullean Tuning Prism on an amulet, the outcome is always an added Legendary Aspect from the utility pool. The amulet is guaranteed to stay modifiable, and you can reroll the added aspect repeatedly. This makes amulets the safest and often the most rewarding slot to Transfigure.
Diablo 4 Tuning Prism List & How To Use Each One
Tuning Prisms are consumable items that you add to the Horadric Cube alongside your gear to influence what happens during crafting and Transfiguration. You can think of a Tuning Prism as a pointer that directs the cube toward a specific category of affix. Without a prism, the cube pulls from all possible affix pools at random. With one, you narrow the results to a targeted category.
Below is a full list of every Tuning Prism, the affix types each one covers, and how to use them effectively:
Aggressive Tuning Prism (Offensive Affixes)

The Aggressive Tuning Prism (Magic Consumable) is used to target Offensive affixes during Transmutations in the Horadric Cube. When adding, removing, or rerolling affixes through the cube, this prism restricts the operation to the offensive pool.
Affixes covered: Weapon Damage, Willpower (also falls under core stat), Thorns, All Damage Multiplier, Attack Speed, Critical Strike Chance, Critical Strike Damage Multiplier, Vulnerable Damage Multiplier, Damage Over Time Multiplier, Fire Damage Multiplier, Physical Damage Multiplier, Shadow Damage Multiplier.
How to use it: If you want to add an offensive affix to a ring, for example, slot the Aggressive Tuning Prism into the cube along with the ring and select the "Add Affix" recipe. The result will be pulled from the offensive pool. Similarly, if you want to focus-reroll an offensive stat into another offensive stat, this is the prism to use. Be aware that core stats like Strength also fall under the offensive category, so if you have a GA on Strength and use this prism for a focused reroll on another offensive affix, there is a chance it rerolls your Strength GA instead.
Protector's Tuning Prism (Defensive Affixes)
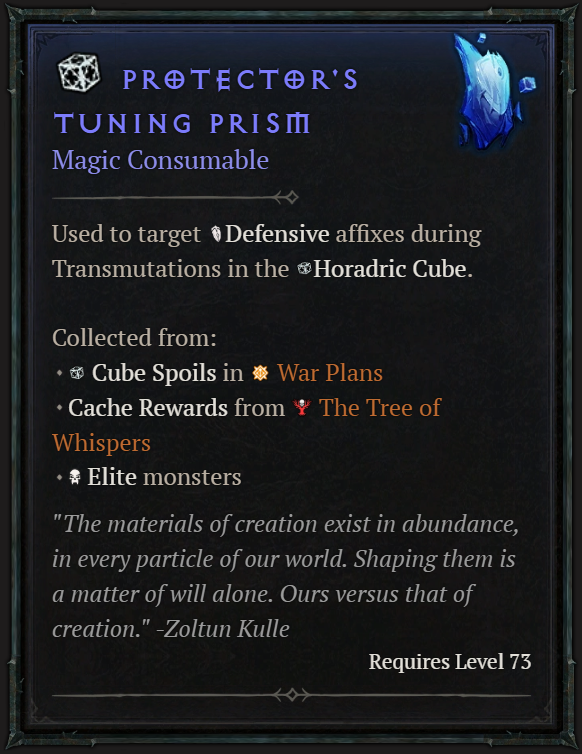
The Protector's Tuning Prism (Magic Consumable) is used to target Defensive affixes during Transmutations in the Horadric Cube.
Affixes covered: Max Life, Life Regen, Life on Hit, Life on Kill, Armor, Resistance to All Elements, Fire Resist, Cold Resist, Lightning Resist, Poison Resist, Shadow Resist, Physical Resist, Damage Reduction, Dodge Chance.
How to use it: Use this prism when you want to add or reroll defensive stats on your gear. One important detail the community has confirmed: "Resistance to All Elements" (All Res) is categorized as a defensive affix, not a resistance affix. This means the Chromatic Tuning Prism (resistance-specific) cannot target or roll All Res. If you want All Res, you need the Protector's Tuning Prism instead. Many players have wasted dozens of Chromatic prisms trying to get All Res before learning this distinction.
Known bug: Fortify Generation is listed as a defensive stat in-game and in loot filters, but multiple players have reported that it cannot be targeted by any Tuning Prism, including the Protector's. This appears to be a bug as of early Season 13.
Chromatic Tuning Prism (Resistance Affixes)
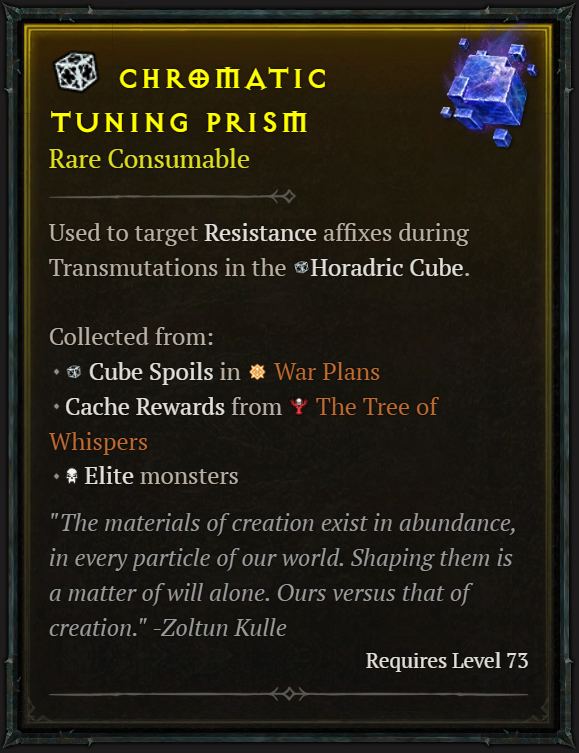
The Chromatic Tuning Prism (Rare Consumable) is used to target Resistance affixes during Transmutations in the Horadric Cube.
Affixes covered: Fire Resist, Cold Resist, Lightning Resist, Poison Resist, Shadow Resist, Physical Resist.
How to use it: This prism is useful when you specifically need a single-element resistance roll. However, it does not cover Resistance to All Elements — that affix is classified under the defensive pool only. If you are trying to roll or remove All Res, do not use this prism. Additionally, individual resistances overlap with the defensive category, so the Protector's Tuning Prism can also target them.
Resourceful Tuning Prism (Resource Affixes)
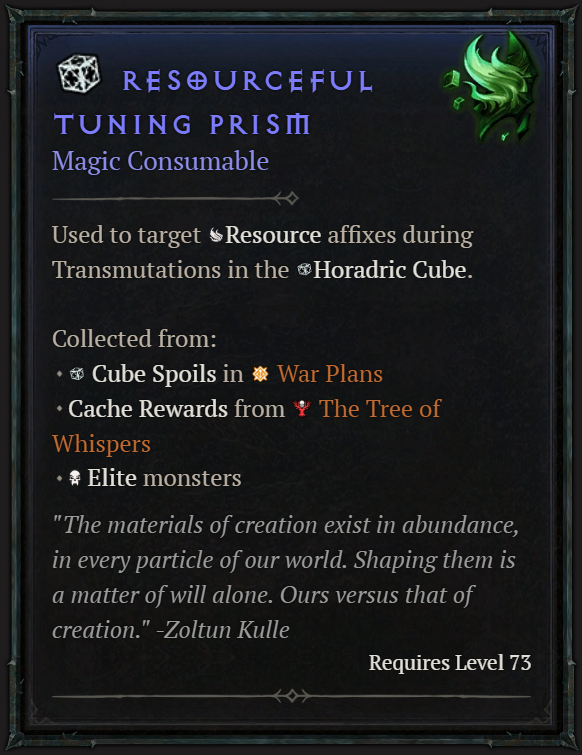
The Resourceful Tuning Prism (Magic Consumable) is used to target Resource affixes during Transmutations in the Horadric Cube.
Affixes covered: Max Resource, Resource per X Kills, Resource Generation, Resource Cost Reduction, Lucky Hit Restore Primary Resource.
How to use it: This prism is useful for builds that depend heavily on resource management. If you run something like a Melted Heart build or any setup that benefits from stacking max resource, this prism lets you target those affixes specifically when adding or rerolling stats.
Pragmatic Tuning Prism (Mobility and Utility Affixes)
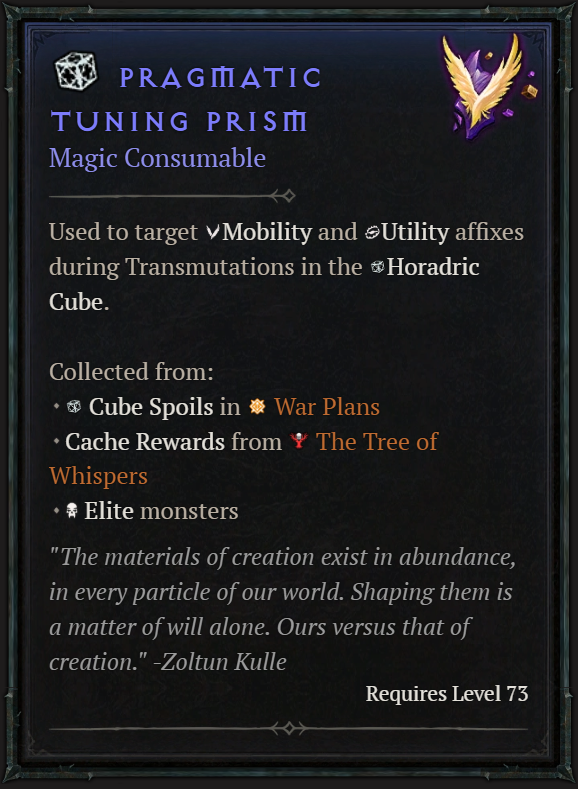
The Pragmatic Tuning Prism (Magic Consumable) is used to target Mobility and Utility affixes during Transmutations in the Horadric Cube.
Affixes covered: Movement Speed, Attacks Reduce Evade Cooldown, Max Evade Charge, Evade Grants Movement Speed, Potion Capacity, Lucky Hit Chance, Healing Received, Cooldown Reduction (CDR), Impairment Reduction (listed but may be bugged).
How to use it: This is a broader prism that combines two categories. CDR is confirmed to be in this pool — one player verified that CDR on a ring falls under mobility specifically. However, several affixes that appear to be in this category based on loot filter data have been reported as untargetable. Impairment Reduction, in particular, seems bugged — players have tried every prism available and cannot get it to be removed or rerolled. Barrier Generation also appears to be bugged out of all pools. Attacks Reduce Evade Cooldown has similar reports. If you land one of these bugged affixes on your item, you may not be able to remove it through the cube.
Known bugs: Impairment Reduction, Fortify Generation, Barrier Generation, and Attacks Reduce Evade Cooldown have all been reported as untargetable by any Tuning Prism. Exercise caution when crafting items that could roll these stats.
Adept's Tuning Prism (Skill and Core Stat Affixes)
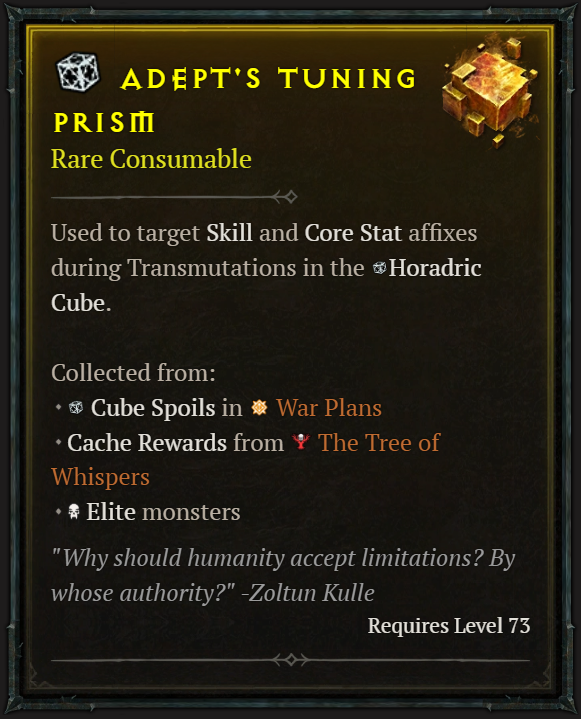
The Adept's Tuning Prism (Rare Consumable) is used to target Skill and Core Stat affixes during Transmutations in the Horadric Cube.
Affixes covered: +Ranks to specific skills (class skills, basic skills, core skills, etc.), Strength, Dexterity, Intelligence, Willpower.
How to use it: This prism exists as a separate category from offensive and utility, even though core stats also appear under the offensive pool and skills appear under the utility pool in loot filters. If you want to specifically target a skill rank or core stat for rerolling, this is the prism to use. However, players have reported inconsistencies — some skill affixes like +Basic Skills or +Defensive Skills do not seem to respond to any prism, including this one. The Adept prism may only reliably work for core stats and certain class-specific skill affixes.
Caution: Because core stats like Strength are tagged as both offensive and core stat, using an Aggressive Tuning Prism for a focused reroll on an item that also has Strength can result in the Strength being rerolled instead of the offensive affix you were targeting. Keep this dual-tagging in mind.
Entropic Tuning Prism (Legendary, Transfiguration Safeguard)
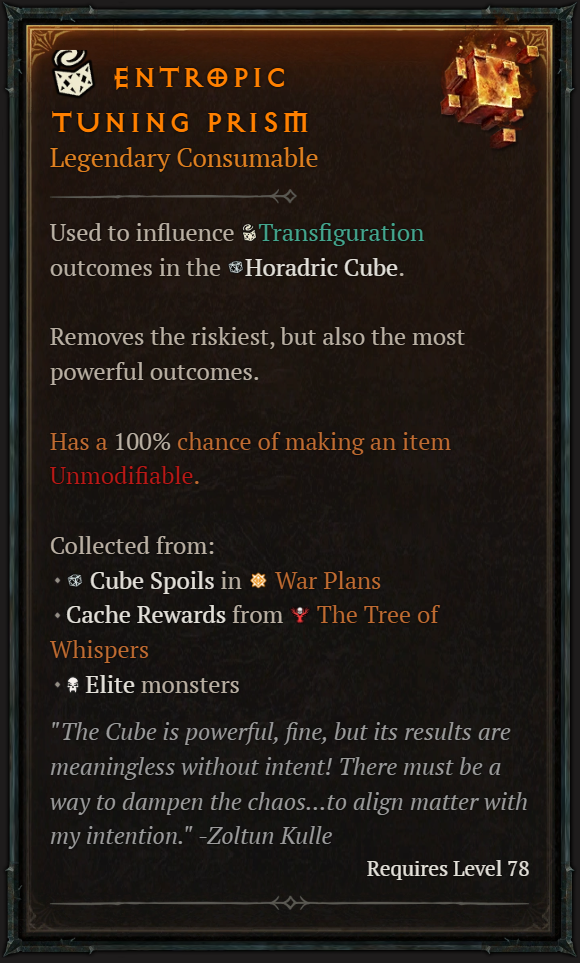
The Entropic Tuning Prism (Legendary Consumable) is used to influence Transfiguration outcomes in the Horadric Cube.
Effect: Removes both the riskiest and the most powerful outcomes from the Transfiguration pool. The item has a 100% chance of becoming unmodifiable.
How to use it: Place the Entropic Tuning Prism in the cube alongside your item when selecting the Transfigure recipe. The risky outcomes it removes likely include "Replace an Affix" (where a good stat gets swapped for a bad one) and possibly the Lucky Hit Chance replacement roll. The powerful outcomes it removes likely include Gem Strength, doubled unique power, and possibly Crit, Attack Speed, and main stat bonuses.
When to use it: Most experienced players recommend using Entropic Tuning Prisms on gear you cannot afford to lose, 3GA or 4GA items, for example. The tradeoff is that you will never get the best possible results like Gem Strength. One common opinion from the community is that Entropic is relatively low-value in most situations because the chance of a truly negative outcome is small, and the powerful outcomes you give up (especially Gem Strength) are far more impactful than the safe alternatives.
When to skip it: On weapons, particularly two-handed weapons, many players recommend gambling without the Entropic prism. The Gem Strength outcome is so powerful on weapons that the risk of a bad roll is often worth taking. If you brick a weapon, you can always craft another one from a blue or yellow base with a single GA and try again.
Kullean Tuning Prism (Unique, Amulets Only)
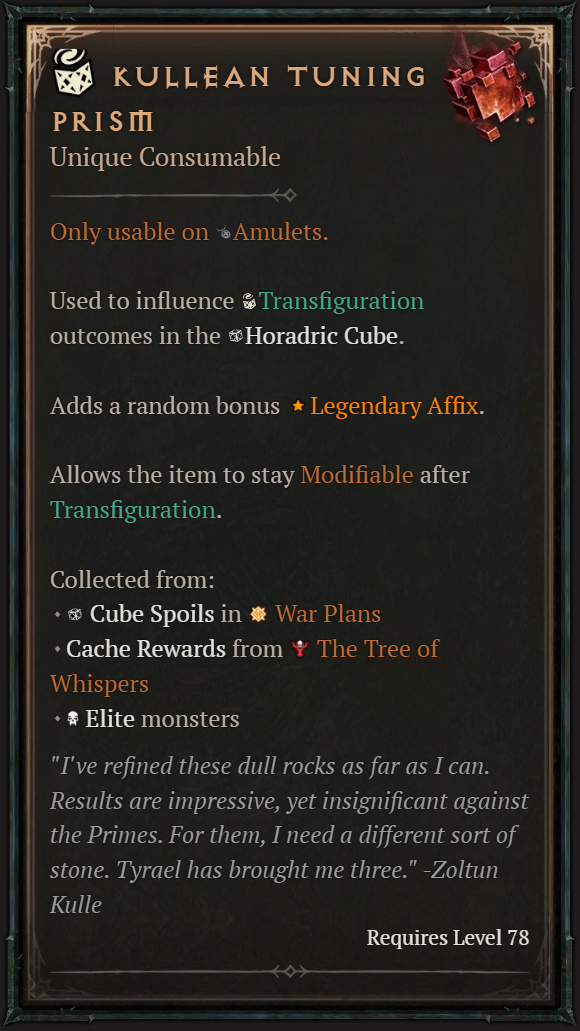
The Kullean Tuning Prism is a Unique Consumable (very rare) that works only with amulets through the Transfigure recipe.
Effect: Adds a random Legendary Aspect from the utility pool to your amulet. The amulet is guaranteed to remain modifiable, and you can repeat the process to reroll the added aspect.
How to use it: Place your amulet and the Kullean Tuning Prism into the cube, then select Transfigure. The added aspect appears as a separate transfigured mod on the amulet. You can still perform a regular Transfiguration on the same amulet afterward for an additional stat bonus. Since the Kullean outcome keeps the item modifiable, you can also continue to imprint, temper, and masterwork.
Known bug (Season 13): If you have a legendary amulet and you imprint a new aspect over one that already has a Kullean-added legendary mod, the extra legendary mod will disappear and cannot be re-added. The amulet may also show as non-transfigurable afterward, even though it is not flagged as unmodifiable. For this reason, the community recommends only using Kullean Tuning Prisms on unique amulets (which don't need imprinting) or on legendary amulets where you already have a finalized aspect you will not change.
Drop rate: Kullean Tuning Prisms are rare. They can drop from War Plans, Cache Rewards from the Tree of Whispers, and Elite monsters, but their drop rate is much lower than standard Tuning Prisms.
Where & How To Get Tuning Prisms?
Tuning Prisms drop from a variety of sources across Sanctuary, and they become more plentiful as you progress into higher Torment tiers.
Primary Drop Locations
War Plans: War Plans are one of the most reliable sources. Both Undercity Tributes and Nightmare Dungeon options within War Plans can be configured to drop Tuning Prisms. One player reported getting roughly 25 Chromatic Tuning Prisms from a single Undercity Tribute run with the goblin bonus chest modifier at Torment 7.
Cache Rewards from the Tree of Whispers: Completing Whisper bounties and turning them in at the Tree of Whispers can yield Tuning Prisms in the reward caches.
Elite Monsters: Any Elite monster you kill has a chance to drop Tuning Prisms. The drop rate increases at higher Torment levels.
Pit Runs (Tier 60+): The most reliable source of Tuning Prisms.
Boss Ladders (Uber Bosses): Drop high quantities at endgame difficulties.
Helltide Events: Smaller but consistent income from chests.
Seasonal Reputation Track: Awards a guaranteed amount throughout the season.
Drop Rate and Availability
At lower Torment tiers (T1–T3), Tuning Prisms drop infrequently, and you may feel starved for materials. By Torment 7–8, they begin dropping at a comfortable rate. At Torment 10+, most standard Tuning Prisms become plentiful enough that you can experiment freely with the cube.
The Kullean Tuning Prism and the Entropic Tuning Prism are both noticeably rarer than the standard category prisms. The Kullean in particular has a very low drop rate; some players have reported going through multiple characters before finding more than a handful. The gem farming location boss has been confirmed as one source that can drop Kullean prisms, even at lower Torment levels like T8.
Don't Salvage Everything
Stop mass-salvaging your loot. Blue and yellow items are now valuable crafting bases for the Horadric Cube. White items matter too, since stripping a rare down to white quality is how you attempt to roll uniques. Keep items with Greater Affixes regardless of rarity, a 1GA blue sword can be turned into a legendary through the cube, and if you're lucky, additional GAs can be added along the way. Charms should always be disenchanted rather than sold, as the materials are used for charm rerolling in the cube.
Diablo 4 Most Effective Transfiguration Strategy
With the system laid out, here's the practical workflow that gets the most value out of your materials:
1. Build The Base Item First
Never transfigure raw gear. Always complete the full STEAM loop (Socket, Temper, Enchant, Aspect, Masterwork 25) before touching the Cube's transfigure recipe. The bonus stats scale off the already-improved item, so skipping steps wastes your potential gains.
2. Save Greater Affix Bases For Cube Upgrades
Keep every ancestral white, blue, and yellow with a Greater Affix on a stat you can actually use. You can add affixes at the Cube to push a blue up to a legendary, potentially picking up extra GAs along the way. If an affix lands poorly, use Focused Reroll with the matching Tuning Prism to try again.
3. Use Focused Reroll Carefully
Focused Reroll with a Tuning Prism rerolls one affix within that category into something new in the same category. The risk: if two offensive affixes exist and one is a GA, the reroll can strip the GA. Only focus-reroll when the rolls you want to keep sit in a different category than the one you want to change.
4. Save Kullean Prisms For Finished Amulets
Because the Kullean keeps amulets modifiable, it's one of the best free power boosts in the game. Aim for unique amulets or legendary amulets with a locked-in max imprint to avoid the current re-imprint bug.
5. Chase Gem Strength On Weapons
Gem Strength is the single most valuable transfigure outcome, and it's doubled on two-handed weapons. A grand or flawless gem paired with Gem Strength can push stats like all-resist, main stat, or elemental damage into absurd territory. Expect to transfigure multiple weapons before landing it, accept interim tempers (non-GA) on your "lottery" bases to save grinding time.
6. Use Entropic Sparingly
The Entropic Tuning Prism is mostly useful on backup gear or irreplaceable multi-GA items where you just want a small guaranteed upgrade. For everything else, raw transfigure gives you a shot at the game-changing outcomes.
7. Don't Forget Amalgamation & Charm Rerolls
Amalgamation (five of a lower-tier item into one of the next tier) applies to tributes, gems, and dungeon keys. It's the fastest way to reach Mythic tributes for Unique farming. Charms can also be rerolled in the Cube, so disenchant every charm you find rather than vendoring them.
New Updated Twice/Triple Transfigure Technique (Top Leaderboard Strategy)
A growing number of leaderboard players are creating insane multi-transfigured items with stacked bonuses like double Item Quality, Gem Power + Crit Chance, or 4 to All Skills + 3 to All Core Skills. The trick is NOT to fully invest materials into an item before transfiguring it.
Most casual players fully upgrade, socket, masterwork, and temper an item before sanctifying it - wasting massive amounts of Forgotten Souls and high-tier materials, especially on those crazy 200-stat swords, when the item rolls Indestructible or another bad outcome.
Top players do the opposite:
Take a base, non-upgraded, non-socketed, non-masterworked, non-tempered item.
Do NOT use a Tuning Prism - transfigure it raw (this rule applies to all gear types except amulets).
Mass transfigure many low-value items (yellow rares, low-GA legendaries, even spare Mythics if you can afford them, though this is risky if your mythic supply is low).
Roughly 1 in 20 items will retain the "Modifiable" status after transfiguration; these are the keepers.
Salvage or discard everything that rolls "Unmodifiable."
This saves enormous amounts of Forgotten Souls and materials, since you only invest into items that survived the RNG filter. Even Indestructible items are worth keeping if they roll a strong transfigured affix like 25% Crit Chance - they are still modifiable.
1. Step-by-Step: Creating a Multi-Transfigured Item (Normal Slots)
For weapons, armor, rings, etc.:
Mass transfigure raw items → keep only the modifiable results.
On the survivor, upgrade the item to max - this is required. Without upgrading, the next transfiguration will simply not work.
Add sockets.
Masterwork the item fully - this is mandatory. If the item is not fully masterworked, the cube will refuse to transfigure it again.
Temper the desired affix (you can even temper an Indestructible item, and yes, you can masterwork an Indestructible item to make it "even more indestructible").
Transfigure again - there is a chance it will gain a SECOND transfigured affix on top of the existing one.
If lucky, you can repeat this loop and even convert base stats into Greater Affixes through chained transfiguration.
⚠ Critical Correction: The item must be fully masterworked AND upgraded before the second transfiguration attempt. This was discovered live during testing, skipping the upgrade or masterwork step will block re-transfiguration entirely.
2. ⚠ Special Case: Amulets - The Exception
Amulets behave differently from all other gear and require the opposite order of operations:
On amulets, you MUST add the Cullen's Tuning Prism BEFORE transfiguring.
If you transfigure an amulet first without a Tuning Prism, you will permanently lose the ability to add the Prism affix later.
The "raw transfigure first" mass-gambling trick does not work on amulets — this was confirmed live during testing where the cube refused to accept a re-transfiguration on an already-transfigured amulet.
So for amulets, the rule is:
Tuning Prism → Transfigure → Masterwork → (optional second Transfigure)
This is the exception to every other rule in this guide. Your endgame amulet workflow should always lead with the Tuning Prism.
3. Example Outcomes from This Method
Real items produced using this technique:
The Grandfather with double Indestructible but a 25% Crit Chance transfigured affix, created live during testing.
Melted Heart of Selig rolling Indestructible but still fully modifiable, allowing sockets and masterwork to continue.
Tyrael's Might with Item Quality + Strength + Damage Reduction stacked.
Amulet with +4 to All Skills, +3 to All Core Skills, and Item Quality, created by sanctifying All Skills first, masterworking, then transfiguring again (spotted on the sword leaderboards).
Weapons with 339 Gem Power masterwork rolls.
The Grandfather with 17 Crit Chance after socketing → masterworking → tempering Crit Chance → re-transfiguring.
4. Who Should Use This Strategy?
This method is strictly for ultra-endgame crafting. It is NOT recommended if:
You are still gearing up or are a new player.
You have limited Forgotten Souls or Tuning Prisms.
You only have a few Mythic Uniques (the RNG can burn through them quickly — use yellow rares or normal items as filter fodder instead).
It is recommended only when:
You already have a complete build with strong baseline gear.
You want to push leaderboard-tier items with a minimum of two transfigured affixes.
You have a deep stockpile of materials and replacement items to feed the RNG cycle.
5. General Tips for Transfiguration Success
Always check the lower-right corner of the item tooltip after transfiguring, if it says "Unmodifiable," the item is locked from further crafting. If not, you can keep working on it.
Save your Greater Affix items for late-stage transfiguration after the modifiable filter has passed.
Keep a separate stash tab of "filter fodder" , cheap items used purely for the 1/20 modifiable roll.
Don't be discouraged by Indestructible rolls, even an Indestructible item can still be socketed, masterworked, tempered, and even transfigured again. If it rolled a useful affix like 25% Crit Chance, it's still a top-tier item.
Yellow rares and non-GA items work fine as fodder, you don't need to burn Mythics for the mass-transfigure filter step.
Be patient: chained transfiguration can even convert base stats into Greater Affixes, but it is heavily RNG-dependent.
Transfiguration is probably the biggest power jump available in Season 13 once your gear is fully built. The system rewards patience and planning, rush it and you'll brick items; work through it methodically and you can double your build's effective power between offense, defense, and gem scaling. Save your prisms for the right moments, always finish your crafting loop first, and respect the Unmodifiable warning. With that approach, the Horadric Cube becomes the single most rewarding part of your Lord of Hatred endgame.